
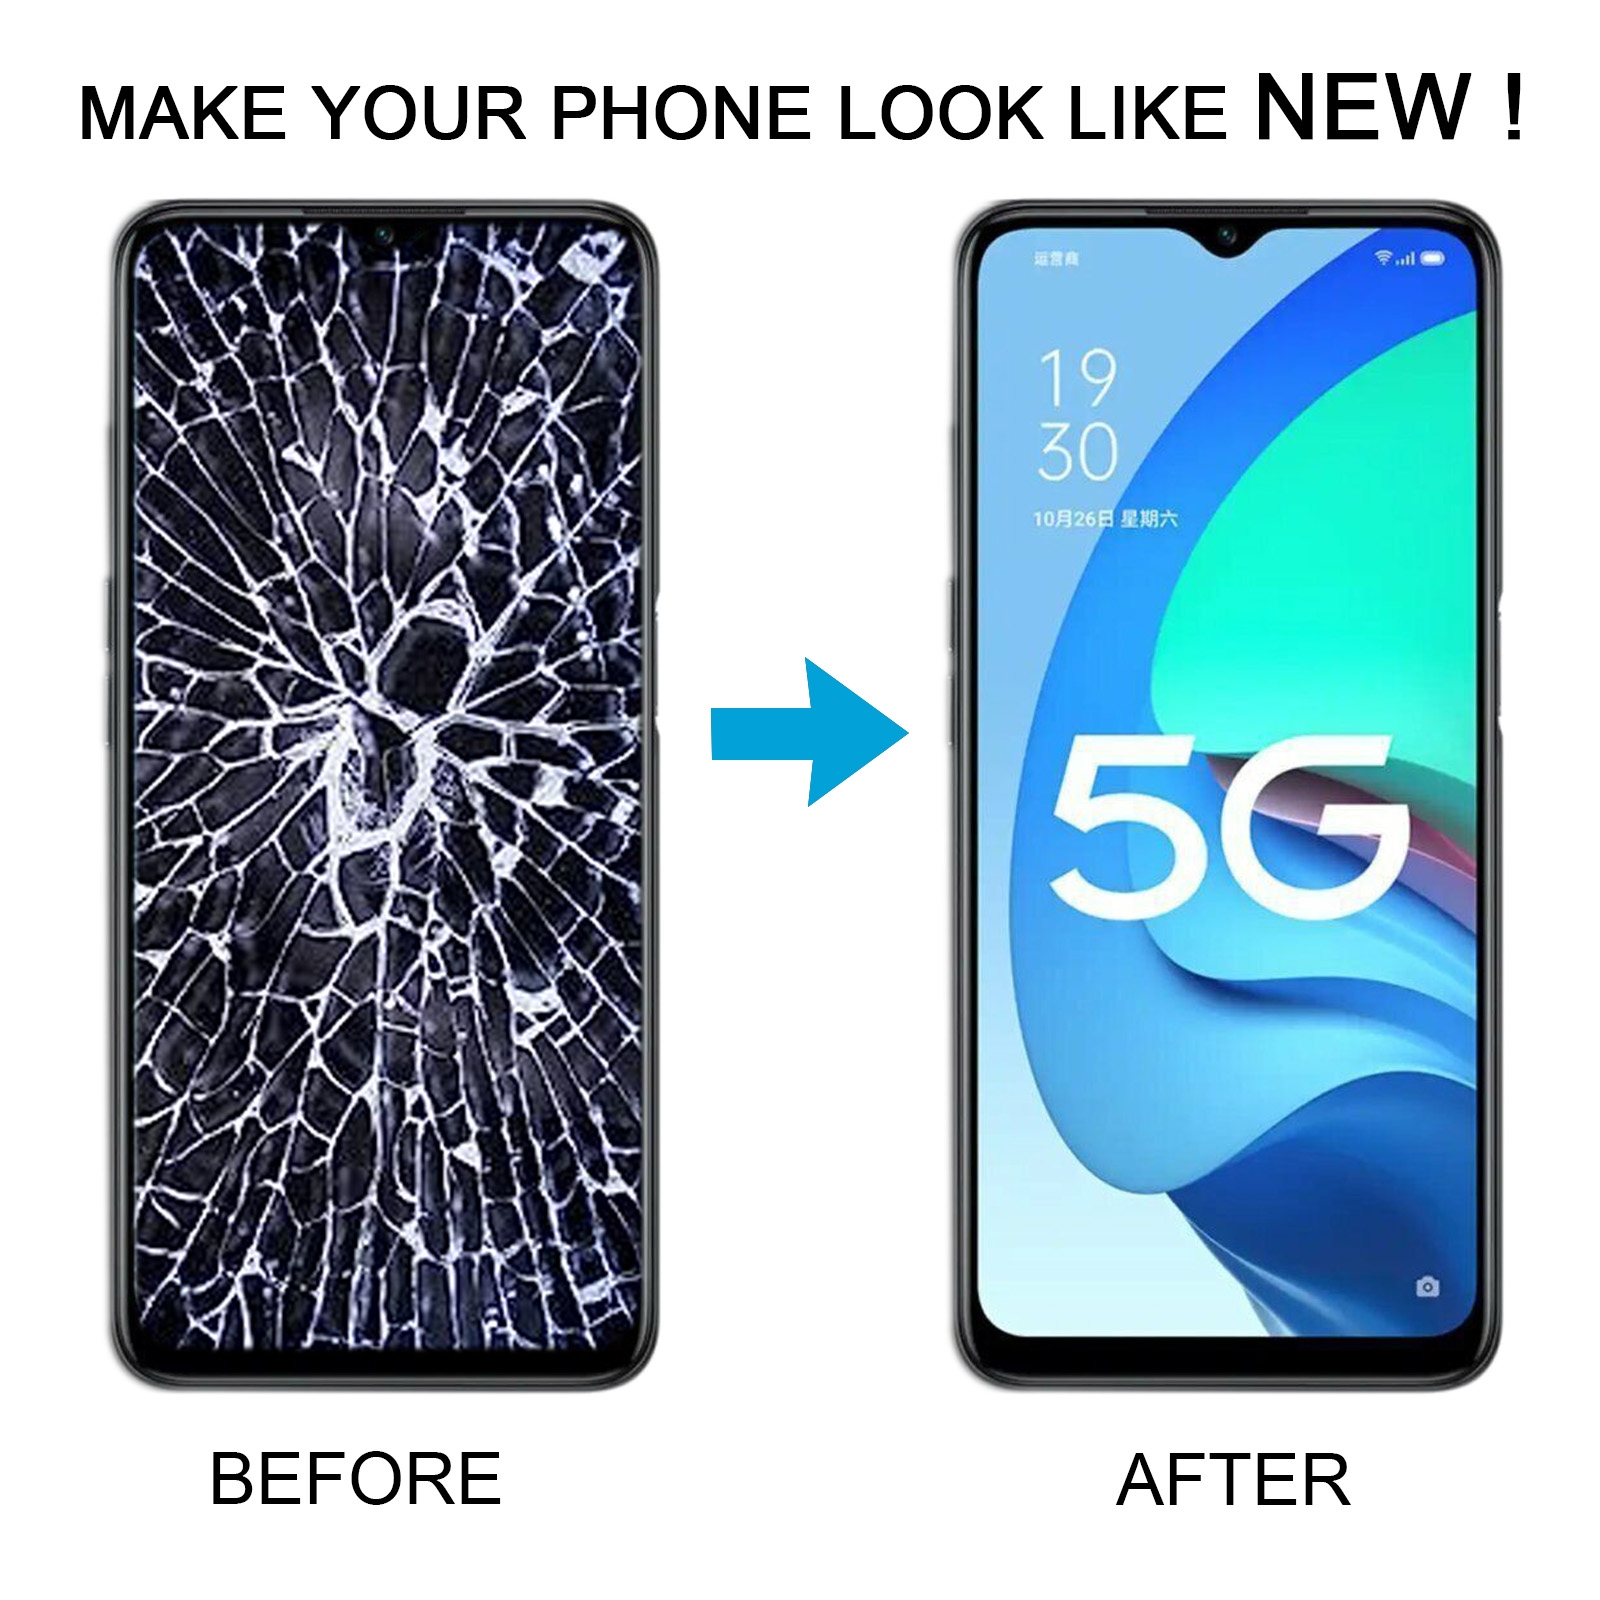
Cracked iPhone screens are one of the most common repairs in any GSM shop. The good news is that with the right tools, a quality replacement screen and some patience, even beginners can learn how to replace an iPhone display safely. In this guide we will not focus on one exact model, but on the general process, best practices and mistakes to avoid when you start doing iPhone screen replacements.
1. Before you start: important checks
Check warranty and official support
If the iPhone is still under Apple warranty or AppleCare, a DIY repair will usually void that coverage. For brand new or very expensive devices, it can be worth checking official repair prices first. For out-of-warranty or older models, independent repair is often the most economical option.
Back up the iPhone
Any repair that involves opening the device carries some risk. Always back up the phone before you touch a single screw. You can use iCloud or a local backup in Finder/iTunes. If something goes wrong during the repair, at least the data is safe.
Order the correct replacement screen
Different iPhone generations use different display technologies, connectors and frame shapes. Make sure you order a screen that matches the exact model (for example iPhone 11 vs iPhone 11 Pro) and, ideally, the same type of display (LCD vs OLED where applicable). Good suppliers clearly label compatibility lists and offer basic quality grades such as “service pack”, “incell LCD”, or “OLED copy”.
Prepare a clean and organised workspace
- Use a clean table with good lighting.
- Have a magnetic screw mat or at least small trays for screws.
- Wear an anti-static wrist strap if possible.
- Keep drinks and food away from the phone and tools.
2. Tools you typically need for an iPhone screen replacement
You do not need the most expensive tools on the market, but you do need the correct types. A basic beginner kit for iPhone screens should include:
- Pentalobe screwdriver (for the two bottom screws near the charging port).
- Small Phillips or Y-type screwdriver (depending on the model, for internal screws).
- Plastic spudger and opening picks (to lift the screen and disconnect flex cables without scratching the board).
- Suction cup or opening handle (to start lifting the display.
- Fine tweezers (for handling small brackets and screws).
- Plastic or nylon pry tool (to separate adhesive gently).
- Isopropyl alcohol (90%+) and lint-free wipes for cleaning surfaces.
- Pre-cut waterproof adhesive (for models that use a sealing gasket).
For a more professional setup you can add a heat pad or hot air tool to soften the adhesive, and a microscope for working on very small components. But as a beginner, start simple and upgrade as you gain experience.
3. Understanding the iPhone screen assembly
An iPhone “screen” is more than just the glass. Most modern models combine several parts in one assembly:
- LCD or OLED display panel
- Touch digitiser layer
- Front glass
- Front camera and sensor flex (proximity sensor, ambient light, etc.)
- Earpiece speaker module
- Home button with Touch ID (on older models) or Face ID sensor group (on newer models)
On many replacement screens you must transfer some of these small parts from the old screen to the new one, especially the front camera flex and the earpiece speaker module. For models with Touch ID or Face ID, be extra careful: those components are cryptographically paired to the logic board. Damaging them can permanently disable fingerprint or face unlock.
4. Step-by-step overview (generic process)
Exact steps and screw locations are different for each model, but the basic workflow is similar across most iPhones:
Step 1: Power off and remove bottom screws
- Shut down the iPhone completely.
- Remove the two pentalobe screws next to the Lightning or USB-C port.
Step 2: Gently separate the screen
- Place a suction cup near the bottom edge of the screen and apply gentle upward force.
- Slide a plastic pick between the screen and the frame to cut through the adhesive.
- Work slowly around the edges. Do not insert tools too deep near the flex cable area.
- Open the phone like a book, in the direction appropriate for that model (left, right or upwards).
Step 3: Disconnect the battery first
- Remove the metal shield that covers the battery and display connectors.
- Always disconnect the battery connector before unplugging the display flex cables. This helps to prevent short circuits and ghost touch issues.
Step 4: Disconnect the display and sensor flex cables
- Carefully disconnect all display-related flex cables using a plastic spudger.
- Lift the old screen away from the frame and set it on a soft surface.
Step 5: Transfer small parts to the new screen
- Remove any brackets, front camera flex, earpiece speaker and sensors from the old screen.
- Move them to the new display in the same position and order.
- Be gentle: flex cables are thin and can tear easily.
Step 6: Install the new screen
- Reconnect the display and sensor flex cables to the logic board.
- Reconnect the battery connector.
- Before sealing the phone, temporarily fold the screen into place and power it on for a quick test.
Step 7: Apply new adhesive and close the phone
- If the model uses a waterproof gasket, remove old adhesive from the frame and apply a new one.
- Press the screen gently into the frame, starting from the top edge and working down.
- Reinstall the two pentalobe screws at the bottom.
Again, always follow a model-specific guide for exact screw types, bracket shapes and opening direction. Mixing up screw positions can cause serious damage (“long-screw damage”) to the logic board.
5. Common beginner mistakes to avoid
- Not disconnecting the battery before removing or connecting the screen cables.
- Using metal tools on live connectors, which can cause shorts and black screen issues.
- Forgetting screw positions and forcing a long screw into a short hole.
- Pulling on flex cables instead of gently lifting the connector.
- Skipping the adhesive replacement, which reduces dust and water resistance.
- Buying very cheap screens with poor brightness, colour and touch response.
As a beginner, take your time, work slowly and document each step with photos. This makes it easier to remember where every screw and bracket belongs during reassembly.
6. Testing checklist after screen replacement
Before you return the phone to a customer (or to yourself), test all functions that are related to the screen:
- Check touch response across the whole display, including the corners.
- Test multi-touch gestures like pinch to zoom.
- Verify brightness adjustment and auto-brightness, if supported.
- Check the front camera, earpiece speaker and microphone during a test call.
- Wave your hand over the top of the screen during a call to test the proximity sensor.
- Confirm that Face ID or Touch ID still works (if the original component was not damaged).
- Make sure there are no strange lines, flickering or colour spots.
If something does not work, do not force the screen into the frame. Open the phone again, check the connectors and make sure no cable is pinched between the frame and the display.
7. When you should send the repair to a professional
DIY repairs are a great way to learn GSM skills, but they are not always the best option. Consider sending the device to an experienced technician if:
- The phone has heavy damage (bent frame, exposed board, liquid damage).
- You see green lines, random restarting or other signs of deeper board issues.
- True Tone, Face ID or Touch ID are already problematic before you start.
- The device belongs to a client who cannot afford data loss.
Working with a professional repair shop can also be a learning opportunity. Many technicians started exactly like you: by replacing their own broken iPhone screen, then helping friends and family, and finally building a business.
8. Final tips for beginners in iPhone screen repair
- Start with older or low-value devices before working on the latest flagship iPhones.
- Invest in decent tools once and use them for many repairs.
- Keep detailed notes for each model: screw maps, adhesive type, common issues.
- Build relationships with reliable parts distributors for consistent quality screens.
- Continue learning about battery replacements, back glass and charging port repairs.
If you are serious about GSM repair, iPhone screen replacement is the perfect first step. It combines patience, precision and basic electronics awareness, and it is one of the most requested services in the mobile repair world.